Key takeaways
- Aperture controls light and depth of field (background blur).
- Shutter speed controls light and motion (freeze or blur).
- ISO brightens the image and affects noise.
- One stop = double or half the light. Trade stops between settings to keep the same exposure.
What is exposure?
Exposure is how bright or dark a photo is, determined by how much light reaches the sensor and how that signal is amplified. An underexposed photo is too dark and loses shadow detail; an overexposed photo is too bright and loses highlight detail ("blown out"). A "correct" exposure is the one that looks right for your intent — sometimes deliberately bright or moody.
You control exposure with three settings. Each changes brightness in a predictable way, and each has a side effect on how the image looks. That's the whole secret: choose the settings for their side effects, then balance brightness.
Aperture: the size of the opening
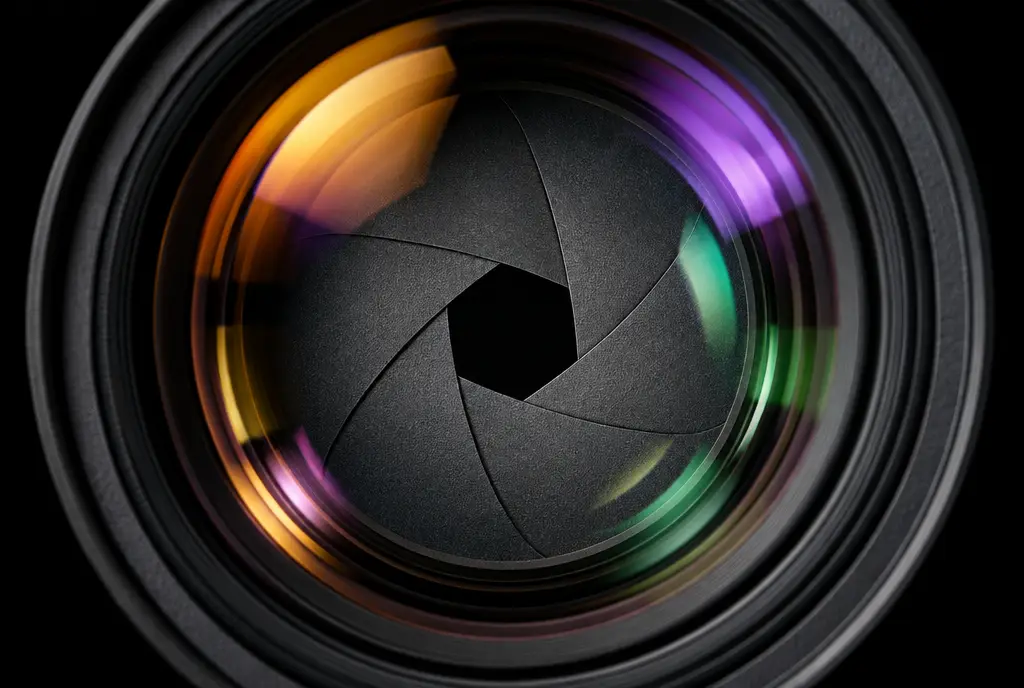
The aperture is an adjustable hole in the lens, measured in f-numbers. The standard full-stop sequence is:
f/1.4 · f/2 · f/2.8 · f/4 · f/5.6 · f/8 · f/11 · f/16 · f/22
Each step to the right halves the light. It feels backwards at first: small f-number = big opening = more light. That's because the f-number is a fraction — f/2 means the opening is half the focal length wide; f/16 is one-sixteenth.
Side effect: depth of field
- Wide aperture (f/1.4–f/2.8): shallow depth of field — the subject is sharp and the background melts into blur. Great for portraits.
- Narrow aperture (f/8–f/16): deep depth of field — near and far are both sharp. Great for landscapes and architecture.
Depth of field also gets shallower as you get closer to your subject or use a longer focal length. Most lenses are sharpest around f/5.6–f/8; beyond about f/16, diffraction softens fine detail.
Shutter speed: how long the sensor sees light
Shutter speed is measured in seconds or fractions of a second. The full-stop sequence is:
1/4000 · 1/2000 · 1/1000 · 1/500 · 1/250 · 1/125 · 1/60 · 1/30 · 1/15 · 1/8 · 1/4 · 1/2 · 1"
Each step to the right doubles the light. (Cameras round some values, so 1/125 and 1/60 are really 1/128 and 1/64.)
Side effect: motion
| Shutter speed | Effect |
|---|---|
| 1/2000 s and faster | Freezes birds in flight, fast sport, water droplets |
| 1/500 – 1/1000 s | Freezes running people, kids, pets, cyclists |
| 1/125 – 1/250 s | Freezes walking people and gentle movement |
| 1/30 – 1/60 s | Handheld limit for many wide lenses; moving subjects blur |
| 1/15 – 1/4 s | Panning shots, creative motion blur (use stabilisation) |
| 1 – 30 s | Silky water, light trails, night scenes — tripod needed |
| Bulb (B) | As long as you hold the button — star trails, fireworks |
ISO: amplifying the signal
ISO sets how much the sensor's signal is amplified. Doubling ISO (100 → 200 → 400 → 800…) brightens the image by one stop. Because it doesn't add light, higher ISO also makes noise (grain and blotchy colour) more visible, and reduces dynamic range.
- ISO 100–400: cleanest images; use in daylight or on a tripod.
- ISO 800–3200: indoor and evening; excellent on modern cameras.
- ISO 6400–12800+: usable, especially on full frame and with modern AI denoising.
A sharp, slightly noisy photo is better than a clean, blurry one. Raise the ISO before you let the shutter speed drop too low for your subject.
Stops and equivalent exposures
Because each setting is measured in stops, you can trade them. All of these give the same brightness — but very different photos:
| Aperture | Shutter | ISO | Result |
|---|---|---|---|
| f/2 | 1/1000 s | 100 | Blurry background, frozen action |
| f/4 | 1/250 s | 100 | Moderate depth of field, general use |
| f/8 | 1/60 s | 100 | Deep focus, risk of motion blur |
| f/8 | 1/250 s | 400 | Deep focus and sharp — with a little more noise |
| f/16 | 1/15 s | 100 | Everything sharp, needs a tripod |
Interactive exposure calculator
Pick a lighting situation and adjust the three settings to see whether your photo would come out too dark, too bright or just right — plus what each setting does to the look.
Exposure simulator
The Sunny 16 rule
Before light meters were built into cameras, photographers used a simple rule: on a bright sunny day, at f/16, the correct shutter speed is 1/ISO. At ISO 100 that's about 1/125 s at f/16. From there, you can trade stops: f/8 at 1/500 s, or f/4 at 1/2000 s. For each step darker (light haze, overcast, heavy overcast, open shade), open up one stop.
Which setting should you choose first?
- What matters most in this photo? Background blur → choose aperture first. Freezing or blurring motion → choose shutter speed first.
- Set the other to a safe value for the scene (e.g. at least 1/250 s for people, f/8 for landscapes).
- Use ISO to balance brightness — or let Auto ISO do it.
That's exactly how aperture priority and shutter priority modes work. See shooting modes explained and our starter settings table.
Common exposure mistakes
- Shutter too slow in dim light → blurry photos. Raise ISO instead.
- Trusting the rear screen in bright sun → check the histogram.
- Blown-out skies → use negative exposure compensation or expose for the highlights and lift shadows in editing.
- Narrowest aperture for "maximum sharpness" → diffraction softens images beyond about f/16; f/8–f/11 is usually sharper.
Frequently asked questions
What is the exposure triangle?
It's a way of describing how aperture, shutter speed and ISO work together to control the brightness of a photo. Changing one setting by a certain amount can be balanced by changing another in the opposite direction, keeping the same exposure while changing the look of the image.
What is a stop in photography?
A stop is a doubling or halving of light. Going from 1/250 s to 1/125 s, from f/4 to f/2.8, or from ISO 200 to ISO 400 each makes the photo one stop brighter.
Does ISO make the sensor more sensitive to light?
Not exactly. The sensor's sensitivity is fixed; ISO amplifies the signal after light is captured. Higher ISO brightens the image but also makes noise more visible because less light was collected.
What is the Sunny 16 rule?
On a bright sunny day, set the aperture to f/16 and the shutter speed to 1 divided by your ISO (for example ISO 100 and 1/100 s or 1/125 s) for a correct exposure. It's a handy way to estimate exposure without a meter.