Starter setup in 60 seconds
- Mode: Aperture priority (A / Av)
- ISO: Auto ISO with a maximum of 6400 and a minimum shutter speed of about 1/125 s
- Autofocus: Continuous (AF-C / AI Servo) with subject detection on
- File format: RAW + JPEG
- White balance: Auto
- Metering: Evaluative / Matrix / Multi
- Turn on the histogram and highlight warning in playback
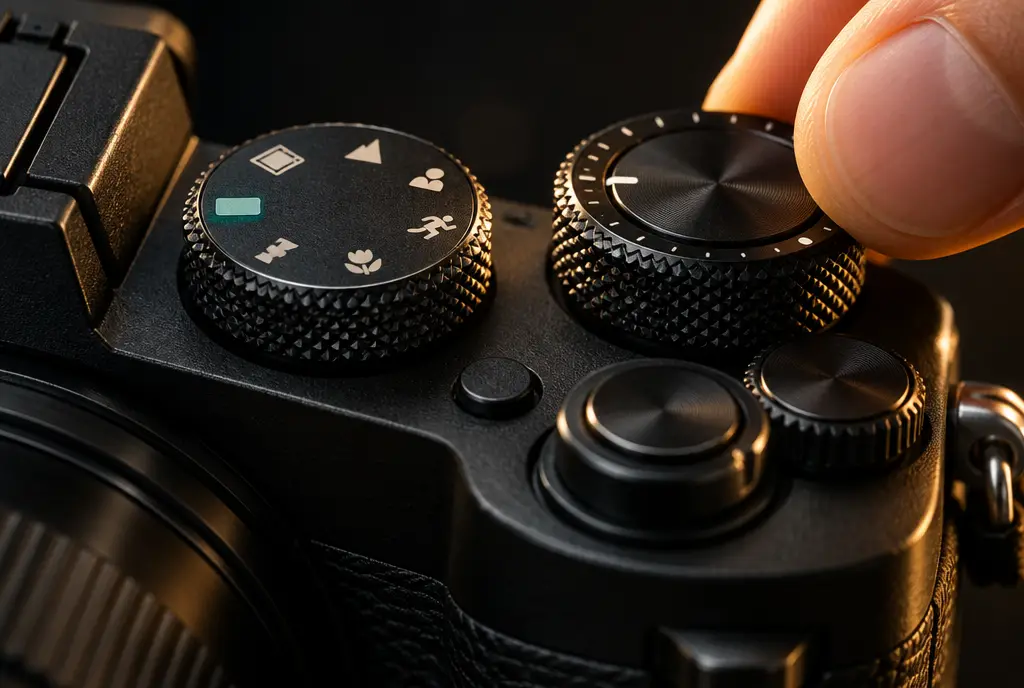
Shooting modes: Auto, P, A, S, M
The mode dial decides who controls the three exposure settings — aperture, shutter speed and ISO. (New to those? Read the exposure triangle first.)
| Mode | Name | You set | Camera sets | Use it for |
|---|---|---|---|---|
| Auto | Full auto / scene | Nothing | Everything | Quick snapshots, handing the camera to someone |
| P | Program | ISO (optional), compensation | Aperture and shutter speed | Casual shooting with some control |
| A / Av | Aperture priority | Aperture | Shutter speed | Portraits, landscapes, most everyday shooting |
| S / Tv | Shutter priority | Shutter speed | Aperture | Sport, action, deliberate motion blur |
| M | Manual | Aperture and shutter (and ISO) | Nothing (or ISO if Auto ISO) | Studio, flash, night, panoramas, consistent light |
| C1/C2 / U1 | Custom | A saved bundle of settings | — | Switching instantly between e.g. "portrait" and "action" setups |
Brands use different letters: Canon uses Av and Tv (time value), while Nikon, Sony, Fujifilm and others use A and S. Canon also offers Fv (flexible priority) on some models.
A favourite of event and wildlife photographers: set the aperture and shutter speed you need in M mode and let Auto ISO handle brightness. You can still nudge it with exposure compensation.
Exposure compensation
Cameras try to make every scene average brightness. That fails with very bright scenes (snow, beaches, white walls look grey) and very dark ones (black cats, night streets look washed out). Use the +/− control:
- +0.7 to +1.7 for snow, bright sand, backlit subjects and white backgrounds.
- −0.7 to −1.7 for dark scenes, stage performers under spotlights and sunsets (to keep colours rich).
Metering modes
Metering is how the camera measures light to decide the exposure.
Evaluative / Matrix / Multi
Analyses the whole frame. The best default for almost everything.
Centre-weighted
Prioritises the middle of the frame. Predictable for portraits.
Spot
Measures a tiny area (1–5%). For backlit subjects, stage lighting, the Moon.
Highlight-weighted
Protects bright areas from clipping. Useful for concerts and high-contrast scenes.
Autofocus modes
Focus modes: when the camera focuses
| Mode | Canon name | Behaviour | Use for |
|---|---|---|---|
| AF-S (single) | One Shot | Focuses once and locks while half-pressed | Still subjects, landscapes, products |
| AF-C (continuous) | AI Servo / Servo | Keeps refocusing while half-pressed | Anything that moves: people, kids, pets, sport |
| AF-A (automatic) | AI Focus | Switches between the two automatically | Casual shooting (less predictable) |
| MF (manual) | MF | You turn the focus ring | Macro, astro, video, through glass |
AF area modes: where the camera focuses
- Single point / spot — you pick an exact spot. Precise, for still subjects.
- Zone / expanded — a group of points. Good for moving subjects in a predictable area.
- Wide / auto area — the camera chooses. Works well combined with subject detection.
- Tracking — locks on and follows the subject across the frame.
Subject detection
Modern cameras recognise eyes, faces, bodies, animals, birds, insects, cars, motorcycles, trains and aircraft. Set the detection type to match your subject for the most reliable results.
Many photographers move autofocus from the shutter button to a rear button (AF-ON). You press the rear button to focus and the shutter button only takes the picture — making it easy to switch between continuous tracking and "focus and recompose".
White balance
Light has a colour: warm and orange from tungsten bulbs and sunsets, cool and blue in shade and on overcast days. White balance (WB) corrects this so white looks white. It's measured in Kelvin (K).
| Preset | Approx. Kelvin | When |
|---|---|---|
| Tungsten / incandescent | ~3,200 K | Household bulbs |
| Fluorescent | ~4,000 K | Offices, some shops |
| Daylight | ~5,500 K | Midday sun |
| Flash | ~5,500–6,000 K | With a speedlight |
| Cloudy | ~6,500 K | Overcast sky |
| Shade | ~7,500 K | Open shade on sunny days |
Auto WB is excellent on modern cameras. If you shoot RAW, you can change white balance perfectly afterwards, so don't worry about it much.
Drive modes & shutter types
- Single — one photo per press.
- Continuous low / high — bursts for action; pick the moment later.
- Self-timer — 2 s to avoid shake on a tripod, 10 s to get in the photo.
- Bracketing — several shots at different exposures (for HDR) or focus distances (focus stacking).
- Pre-capture — buffers frames before you fully press the shutter; brilliant for birds taking off.
Mechanical vs electronic shutter
The mechanical shutter is a physical curtain — reliable, no distortion, works well with flash. The electronic shutter is silent and allows very fast bursts, but on many sensors it can bend fast-moving objects ("rolling shutter") and cause banding under LED lights. Newer stacked and global-shutter sensors largely remove these issues.
RAW vs JPEG (and HEIF)
RAW
- Maximum editing latitude
- Recover highlights and shadows
- Change white balance losslessly
- Bigger files, needs editing software
JPEG / HEIF
- Ready to share instantly
- Small files
- Uses the camera's colour profiles
- Limited editing flexibility
HEIF (on some Canon, Sony, Fujifilm and other models) stores 10-bit colour in files around the same size as JPEG — great for HDR displays, but check your software supports it.
Image stabilisation
Stabilisation counters hand shake so you can use slower shutter speeds. It can be in-body (IBIS), in-lens (OIS / IS / VR / OSS), or both working together. Turn it off on a tripod with older systems (newer ones detect tripods automatically) and remember: stabilisation doesn't freeze a moving subject — only a fast shutter speed does.
The histogram & exposure tools
The histogram is a graph of brightness in your image: shadows on the left, highlights on the right. It's more reliable than judging the screen in sunlight.
- Bunched against the right edge: highlights are clipped (pure white, no detail).
- Bunched against the left edge: shadows are clipped (pure black).
- Highlight warnings ("blinkies") flash over blown-out areas in playback.
- Zebras show stripes over bright areas in live view — common in video.
- Focus peaking outlines in-focus edges in colour — essential for manual focus.
Picture styles, colour space & other image settings
- Picture Style / Picture Control / Creative Look / Film Simulation — colour and contrast presets for JPEGs (and the preview of RAW files).
- Colour space — keep sRGB for web and most printing labs; Adobe RGB only if you have a professional print workflow.
- High ISO noise reduction — affects JPEGs only; "Low" or "Standard" keeps more detail.
- Long exposure noise reduction — takes a second "dark frame" after long exposures; doubles the wait time.
- Silent / beep — turn the focus beep off, especially at events.
Starter settings for common situations
These are starting points, not rules. Adjust to the light and check your histogram.
| Situation | Mode | Aperture | Shutter speed | ISO | AF |
|---|---|---|---|---|---|
| Portrait (blurry background) | A / Av | f/1.8–f/2.8 | 1/200 s+ | Auto | AF-C + eye detection |
| Landscape (daylight, tripod) | A / Av | f/8–f/11 | Any | 100 | AF-S, single point |
| Kids & pets indoors | M + Auto ISO | f/1.8–f/2.8 | 1/250–1/500 s | Auto | AF-C + subject detection |
| Sport / action | S / Tv or M + Auto ISO | Widest | 1/1000 s+ | Auto | AF-C, tracking, burst |
| Birds in flight | M + Auto ISO | f/5.6–f/8 | 1/2000 s+ | Auto | AF-C, bird detection, pre-capture |
| Street | A / Av | f/5.6–f/8 | 1/250 s min | Auto | AF-C, wide area |
| Night city (tripod) | M | f/8 | 2–15 s | 100 | MF or AF-S, 2 s timer |
| Milky Way | M | Widest (f/1.4–f/2.8) | 10–20 s | 1600–6400 | MF on a bright star |
| Silky waterfall | S / Tv or M | f/8–f/16 | 0.5–2 s (ND filter) | 100 | AF-S |
| Fireworks | M | f/8–f/11 | 2–6 s or Bulb | 100–200 | MF at infinity |
To avoid blur from camera shake without stabilisation, use a shutter speed of at least 1 ÷ (focal length × crop factor). For example, a 100mm lens on APS-C (1.5×) needs about 1/150 s. Stabilisation can buy you several stops, but moving subjects still need fast speeds.
Frequently asked questions
Which shooting mode should a beginner use?
Aperture priority (A or Av) is the best place to start. You choose the aperture to control background blur and the camera sets the shutter speed. Combine it with Auto ISO and exposure compensation and you have creative control without having to manage everything at once.
Should I shoot RAW or JPEG?
Shoot RAW if you plan to edit, because RAW files keep far more highlight, shadow and colour information. Shoot JPEG if you want finished images straight from the camera and small files. Many cameras can save both at once (RAW+JPEG).
What autofocus mode should I use for moving subjects?
Use continuous autofocus (AF-C on most brands, AI Servo on Canon) with a tracking or wide area mode and subject detection set to the right subject — people, animals, birds or vehicles.
Why are my photos blurry?
The most common causes are a shutter speed too slow for handheld shooting or subject movement, focus on the wrong spot, or single-shot AF on a moving subject. Raise the shutter speed, use continuous AF with tracking, and check where the focus point landed.
What is exposure compensation?
Exposure compensation (the +/- button or dial) tells the camera to make the next photo brighter or darker than it thinks is correct. It works in P, A/Av and S/Tv modes, and in M mode when Auto ISO is on.